We all enjoy our home theater experience, sitting with our friends and family, a bowl of popcorn in hand in front of big flat-screen television blasting out our favorite movie. More and more people by the day have chosen to expand this experience by making a foray into the world of video projection systems.
This really is a home theater in its purest form: an actual theater-like projection system in your living room. However, navigating the complexities of projector specifications and the flood of great and not-so-great video projector systems on the market has left many consumers dizzy with the details.
TABLE OF CONTENTS
Here, we break it all down for you. In this technical installment, we review the differences between native and maximum resolution, why you must understand these differences when selecting a purchase, and the purchase pitfalls to which you must pay attention.
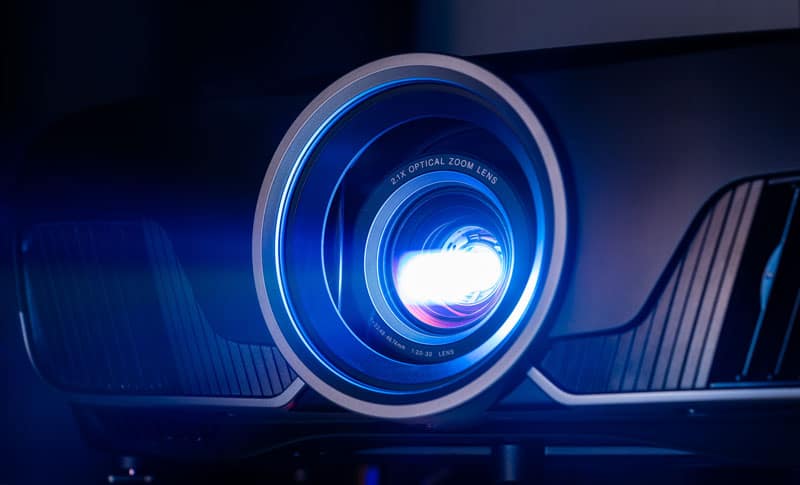
First, some technical details. Modern video projection systems are basically made of two main components.
Part one is the light source. This consists of a bulb, LED (light-emitting diode), or laser source of illumination. The second part is the microarray, the image producer.
This is a large plate based on LCD (liquid-crystal display, like your cell phone or television), DLP (digital light processing), or LCOS (liquid crystal on silicon) technology. Microarrays are a fixed grid of pixels that construct the projected image.
These are the literal pixels that the device possesses, and the array dimensions consist of the projector’s native resolution. In other words, this is the actual physical resolution limit of the machine.
The projector will never be able to display more pixels than this amount and configuration.
When perusing the specifications of a video projector system, one also sees a projector maximum resolution rating. This is the maximum recognized signal input limit of the machine and is dependent primarily on the signal format.
Video signal inputs come in several different formats, depending on their source, whether from an actual video source or a computer. The non-native resolution of the video projector is contingent upon its hardware and ability to compress or interpolate pixel formats, a process known as scaling.
Common input formats that most projectors can convert include VGA (640 x 450), NTSC (640 x 480), SVGA (800 x 600), XGA (1024 x 768), SXGA (1280 x 1024).
If the input format is in a non-native resolution, it must be converted through scaling by either compressing the signal for inputs larger than the projector native resolution and reinterpreting the image under native resolution, or the signal input resolution must be expanded to meet the projection native resolution by image interpolation. These concepts are better understood through examples.
Related Article: How To Make Projector Screens
Scaling Up: Pixel Emulation
For instance, you have purchased a video projector with 800 x 480 (WVGA) native resolution, and you wish to watch a rerun of an old television show. The input signal is in NTSC (national television system committee, the standard television format), which is 640 x 480 pixels.
Your first option is to display the video in its native format, which is NTSC. This will result in a very sharp but small image (up to the limits of the original video and transmission quality) compared with the full projector viewing area.
If you want a larger image, your projector must have the hardware to display a 640 x 480-pixel array by making full use of the physical 800 x 480-pixel microarray board. This means the projector must possess an on-chip set of video scaler instructions and invent image-appropriate pixels to fill in the gaps.
In other words, for the horizontal axis, the projector must create 240 additional pixels per line through pixel interpolation to fill out the full microarray board, a process known as upscaling.
Upscaling can, however, produce some video image artifacts, such as posterization (spurious application of a continuous tone gradient in one part of the image to another part of the image with fewer tones), ringing (false signals as edge effects, typically resulting in sharp bands or ghosts), as well as image distortion because the image is stretched to fill the array.
Who knew that actress was so short and wide? Oh, that’s right, we’re upscaling. For some NTSC signals, watching the video in its original format may be preferable.
Scaling Down: Compression
In this second example, you would like to watch a Blu-ray DVD movie in your home theater/living room. Your DVD player puts out a 1080p signal (FHD: 1920 x 1080 pixels), which your projector must display using its 800 x 480-pixel microarray.
For it to do so, this requires a video scaler algorithm (a codec) for live video compression, a procedure known as downscaling. The codec will attempt to reduce the number of pixels needed for displaying the image by taking a weighted average color signal for 4 x 4 sets of adjacent pixels (a type of blending method known as bicubic interpolation) and applying that average signal to the corresponding pixel location on the physical microarray.
Although there is always signal loss during scaling, downscaling tends to produce very little signal loss or degradation of image quality. For most users, the change from the original is not noticeable.
Working with Computer Signal Input
So far, we have only discussed video inputs for movie viewing. However, video projection systems are commonly used in business and academics for the presentation of signal inputs from computers.
To obtain the clearest image possible to display slides, spreadsheets, or other documents, do not base your input signal on the projector’s maximum resolution. Doing so will not provide a crisp image needed for viewers to see fine details.
Instead, adjust the computer output to closely match the projector’s native resolution. In Windows 10, this option can be found under Start Menu>Settings>System>Display. The pull-down menu under Resolution will show all the available output formats for the computer graphics board.
In Macintosh OSX, this option can be found under Apple Menu>System Preferences>Displays. Select the “Scaled” radio button and the scroll-down list beneath will activate, allowing you to select the desired output resolution.
Final Thoughts
You get what you pay for. Before shopping for a video projector, know in advance the types of signal inputs (e.g., NTSC, VGA, FHD) you need displayed and ensure that the projector you purchase is capable of upscaling or downscaling those signals.
Also, understand the distinction between native and maximum resolution. If you see what looks like a real deal on a projector and the advertisement says “1920 x 1200 WUXGA maximum resolution” for a great price, don’t think that you have struck gold on getting a cheap Super HD projection system.
Native resolution is the key and if you look at the fine print specifications, which some advertisers neglect to provide unless you ask, you might see that native resolution is only 1280 x 768 pixels, a sub-WXGA resolution. Remember: max is what it can digest, native is the most you will see.
