 You may need to use multiple projectors together whether you want to watch movies on the projector or give a business presentation.
Today we will discuss how you can automatically set up multiple projectors without putting colossal effort? We will take the help of Anyblend, a software created by VIOSO. Even though it is currently limited to Windows 7 operating system, but the VIOSO is planning to make it available for Windows 8, Windows 10, and MAC OS. Whether you need to join two or three projectors together, it won’t be a headache to you as Anyblend can pair up to six projectors at a time.
You need to arrange some items before starting with automatic multiple projectors, and they are;
- A laptop with Windows 7 OS and GPU (We have used AMD GPU).
- HD webcam or a DSLR.
- Two high-quality projectors with minimum HD native resolution.
- Two large tables.
- VGA or HDMI cable.
- Two large screens with good gain.
- Power strip.
- Matrox Triplehead2Go
TABLE OF CONTENTS
Check out the video if you don’t want to read the whole text:
Related Article: What Is A Short Throw Projector and How Does It Work?
Set up the Projectors & Screen
To begin with, place the projector screen side by side and try to enlarge it up to its maximum clear screen size of the projector. Maintaining the size within the clear-screen size range will allow you to experience the best visual and also get a massive screen size. Apart from a standing screen, you can also opt for a wall hanging retractable screen only if there is ample wall space.
Now place the projector on a table and maintain a decent amount of gap between them. Connect the power cable of both the projector with the power strip and then hook the cable of the power strip to the main power outlet. Switch on both the projector by pressing its power switch and wait until both the device gets ready.
Use the remote of the projectors to project a test screen and make sure the test screen should be of the same size. Then align the projector slowly so that you can overlap the test image and try to maintain an overlap of a minimum of 10% but not less.
Place the Windows 7 laptop near the two projectors and then switch it ON. To stay on the safe side, hook its power cable to the power strip so that it won’t automatically shut down due to battery drainage.
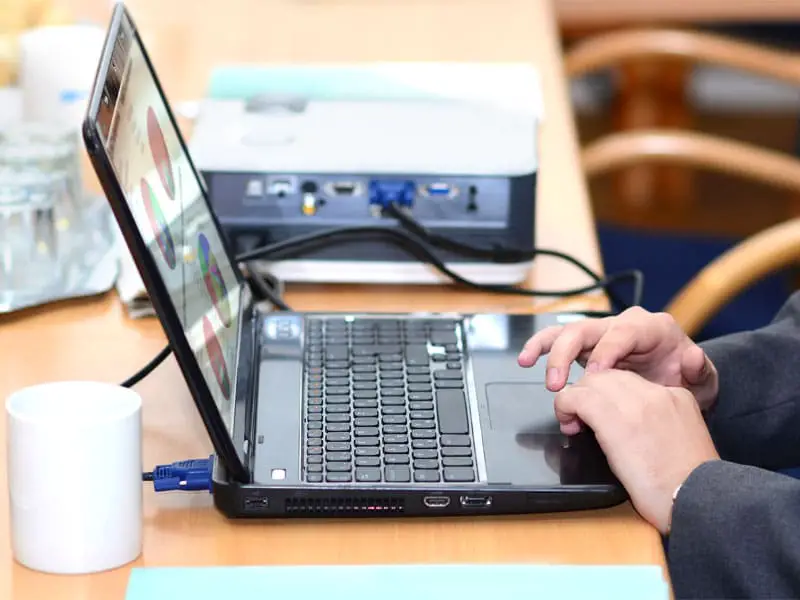
Connect the projector with the laptop using a VGA or HDMI cable. However, most computer comes with a single VGA or HDMI cable so you will need a Triplehead2Go adapter to connect both monitors. So first connect the VGA or HDMI cable to the adapter and then use another cable to hook the laptop with the adapter.
After the laptop boots, open the ATI Eyefinity multi-display control panel located under the AMD Radeon toolbar. Under the multi-display page, you will find the resolution setting, and you will see two separate screen options. You need to select the same resolution for both displays, and it would be best if you set it to 720p. However, if you have a Windows 7 laptop with a high-end GPU and 1080p native projector, then change the resolution to Full HD. You may check our guide to find the best projector.
Once you are over with the selection, now you will have to create one Eyefinity display group and click on Next. A new dialogue box will come up, and it will show you that both the display has been combined together.
Likewise, when you open the display settings under Windows 7 display menu, you will find both the projector has been combined together.
Configure the Anyblend
Open Anyblend application on your laptop and select the settings located on the top. Under the split-screen option, you will have to select the adapter and choose 2 X 1 horizontal span.
Then press on the Apply screen which will open a pop-up stating that you have successfully applied the change.
Next, click on the home menu in the Anyblend software and then select the “Start a new camera-based setup for a blended desktop” option. Once you choose, you will find a new dialogue box to select the projector. Choose both the projector for multi-display and then click on the forward button. Then select the screen type you have installed for projection and opt for a simple surface. After the screen type, select the camera type, and you can go with the webcam.
Now you will have to adjust the brightness of the projector and move the slider according to your requirement. The brightness shouldn’t be too bright or too mild as it will yield poor output. Then click on the forward button to move the threshold adjustment page.
In the threshold adjustment page, fiddle with the line width and threshold bar until and unless all the vertical lines are clear and sharp. Try to curb down noise and interruption as much as possible as it will ensure a precise projection.
In the next step, you will find Inspect surface page where you need to change the dot size to small as it will offer fine blending accuracy.
Once you click the Forward button, Anyblend will automatically measure the screen, and it will project the laptop display on the screen. Then check the projection for any kind of errors and repeat the measuring part until you get a proper result.
So once you get an appropriate display of the first projector, you need to follow the same steps for the second projector. After this, Anyblend will automatically blend the screen so that you get full coverage. Then you need to opt for the final adjustment where you will have to adjust the brightness, contrast, and geometry.
Finishing Touches

In the last stage of setup, use the warping tool to scale the image correctly on the screen. You need to adjust the edges and the curves so that you get an appropriately sized image. So when you are over with the warping tool, you need to click the Forward button again.
In this final stage, Anyblend will automatically blend both the projection and project a single image on the screen.
If you want to buy a 4k projector, here is our guide of affordable 4K projectors.
